Sunday, October 2, 2011

We are living in a world today where lemonade is made from artificial flavors and furniture polish is made from real lemons. ~ Alfred E. Newman


I love this saying. It is the plain and simple truth to what we have available at our giant supermarkets. Many people go through the day not knowing what they are putting into their bodies. Kids still think grape is a flavor not a fruit. Gone are the days of individuals taking time to know what it is they are actually eating, where it has come from and the history behind it. Over the years my circle of food purveyors has been getting much closer to home.
There have been a lot of changes in my life since the last entry. I have moved out of Burlington Vermont and now have a home of my own. This place is spectacular! The amount of apple trees, berry bushes and even cranberries is staggering. My neighbors have chickens, pigs and tons of hops. I cant think of a better place for me to be. My neighbor stopped by to say welcome and give me a chicken from his yard. This was an amazing chicken. Even better, it was from like 150 yards away.
Right away I got to work. I wanted this meal to be as local as possible. What better way to celebrate the bounty of the fall harvest than smoked chicken salad. First, I always brine any kind of poultry. It's the right thing to do. In a large plastic container I mixed one-half gallon of water with one cup of Kosher salt, one cup of sugar and one-quarter cup soy sauce. Mix it all together till the salt dissolves and add the chicken. If you plan to eat the chicken that day, do this first thing in the morning.
After about six to eight hours in brine, it's time to cook the bird. You can roast, grill, fry or smoke. Just don't do something super ghetto like boiling the chicken. Smoking a chicken takes patience. It's not for everyone. Smoking is a long slow cooking process that will give you the most flavorful and juicy bird out there. It's actually quite easy, wood chips, heat, water and a few hours. That's it! While at Home Depot a few months ago I found a perfect gas smoker.
Gas smokers have a huge advantage over charcoal. I have a charcoal smoker, it works, but anything longer than two hours requires dedication. I tried an eight hour smoke on a fresh ham and went through two giant bags of charcoal. This is way more efficient.
Once the chicken is out of the brine, pat it dry and pick a dry seasoning best suited to the bird's accompaniments. In this case this calls for a spicy rub.

Smoked Chicken Dry Rub
1 1/2 Cups Paprika
1/2 Cup Black Pepper
1/2 Cup Kosher Salt
4 Tablespoons Chili Powder
4 Tablespoons Garlic Powder
4 Tablespoons Onion Powder
4 Teaspoons Ground Ghost Chili (optional)


Before you apply the dry rub, lightly coat the whole chicken in molasses. Apply liberally, be sure to coat the entire bird. Cut two lemons in half and pack them into the body cavity and truss the bird shut. Pretty easy so far!


Set up your smoker, lite the burner!


You want the smoker temperature between 200 and 225. Fill the pan above the wood chips with water. This adds valuable humidity to the cooking process. Close the doors and let it go for 2.5 hours. This is where the patience comes in handy. Remember this phrase while smoking, "If you're looking you're not cooking." After the wait is over, remove the bird and let it rest on your countertop for about ten minutes. You will be tempted to try a piece, oh, you will!


This was probably the best chicken I have ever eaten and it came from next door. In my smoked chicken salad I dice the chicken and add tart cherries, sun gold tomato, diced celery, sliced almonds, balsamic reduction, sliced mint and very, very good olive oil.


The next project I truly love. Chicken liver terrine is sometimes under appreciated. Not here! David Chang and the crew at Momofuku are doing amazing things with this recipe. Try to keep local for this one too. I went to the farm across town and purchased three pounds of chicken liver. This is a relatively cheap organ meat. While I was there they had a pork shoulder that would work beautifully in this recipe.

Chicken Liver Terrine
3# Chicken Liver
1/2 Cup Peeled Garlic Cloves
2 Shallots
3# Ground Pork
3 teaspoons Chinese 5 Spice
4 Tablespoons Fish Sauce
2 Tablespoons Sugar
2 Tablespoons Kosher Salt


A quick note on fish sauce. This pungent and wonderful sauce has lots of different levels of quality. Get the best you can find.


Pick through your chicken livers and remove any veins. This is a pretty quick job, try not to over think it. Next, grind your pork. In a food processor, pulse the livers until they are chopped fine but not smooth. Add this to the ground pork along with the dry spices. In the same food processor, puree the garlic and shallots and add them to the whole mess.


Put the mixture in the refrigerator and heat your oven to 275. This is where you can get creative. You can use loaf pans or any other vessel you can think of. I used and 8 1/2 X 4 1/2 pan and a small round metal container.


This needs to cook in a water bath. Find two pans that will accommodate your work. Don't add any water yet. Place them both in the oven, and then fill with water. This will save you from pouring water all over the oven.


Bake the terrines one hour and fifteen minutes. At that point the internal temperature will be 150 or so.


Let the two terrines cool on a wire rack. Once cooled, wrap tightly in aluminum foil and place a weight on them. This ensures that during the overnight set-up time, you will have a very uniform product.


Refrigerate overnight. The next day, remove the weight and foil. Place the containers in enough hot water to heat the sides and release the terrine. At this point, you're done! Package and freeze it, or add some to your scrambled eggs, or have it during the afternoon with wine and cheese.


There you have it! Two exceptional meals that came from the town I live in, and didn't break the budget! If you had this at a fine restaurant this would cost a small fortune, and probably wouldn't be near the quality of what we have here.
Life here in the beautiful Vermont countryside is wonderful. I have lots to be thankful for. I have so many projects for the future. Currently, I am working on three different varieties of incredible sausage. I have lots to do! Stay tuned!



Thursday, August 18, 2011

Rice is Born in Water and Must Die in Wine.


There is nothing like good wholesome stick to the ribs kind of food. I don't think anyone will dispute this fact. Even on the hottest of summer days, a food that will let your mind forget the scorching heat and sweat on your brow. This magical dish is Paella! I have had a wide variety of variations to this dish. Some were so sexy I didn't want to eat it, others were drab and lifeless. The recipe I wrote has many traits born from all of the outstanding memories of what Paella should be. Remember, you can add whatever kind of seafood you like! Make this recipe yours! It's perfect for a late afternoon get together, or any other special occasion. The preparation can be done days in advance if you are short on time. Let's get to work!
Paella is incredibly easy to make, and ruin at the same time. You definitely need to be aware of how things are cooking. I have ruined this dish before by scorching part of the pan and lending that flavor to the rest of the meal. First, you need to find saffron at your local grocery store. It's not that hard to come by, it's just ridiculously expensive! I think an ounce of this goes for a few hundred dollars, seriously! Fortunately, we only need a pinch of this wonderful spice. It is sold in small pinch size bags for around ten dollars. Heat enough chicken stock to start preparing your risotto.


When the chicken stock is at a rolling boil add the saffron. Stir this for a few minuted to infuse the flavors. Next, add the chicken stock in three separate intervals. Add one third, stir, another, stir and finally another until the rice is almost cooked through. I like to add a good splash of white wine at this point and stir in some fresh Parmesan. Spread the risotto out on sheet pans to cool.

Congratulate yourself and have a nice glass of wine! You just completed the hardest part of making paella! Now that the world is your oyster, you have a choice. You can either put the rice in the fridge for a few days and complete the rest at a later date, or push forward and rock peoples worlds!
The risotto in the photo is about sixteen quarts, I dice up about twenty pounds of chicken, and four pounds of chorizo. Scaled down for the home cook you need....

Paella

2 Quarts Risotto Cooked
2 Chicken Breasts Diced
1/4 Lb. Chorizo Diced
1/2 Lb. Shrimp Peeled and Cleaned
**1 Bag Frozen Peas and Carrots**
Faces to Melt!

**Use fresh and blanch first, you owe it to yourself**

Now that you have everything in front of you......


Start by heating a large sauce pot, but don't add oil. Wait till the metal is super hot before you add the oil. Saute the choriso and chicken till 3/4 of the way done....


Next, add your shrimp....


Finally, add the risotto. Be very careful at this point! Have some extra chicken stock or water handy to keep the whole mess moving. Like I said earlier, This is where trouble can happen. Add the peas and carrots, check your seasoning and that's it!!


Everyone at work loves this! The Bulgarians line up for this like it's their job!

Everyone in their lifetime should make this at least once. Remember, you can substitute any of the ingredients shown here. I've had paella with braised short ribs, langostinos, and bay scallops. You be the chef!

Peace out everyone!

Tuesday, July 5, 2011

We Ride Again!!


I can't believe I survived another winter! There were so many things happening all at the same time, life became a giant confusing mess. Jobs and relationships came and went so fast it feels like ten years has past. Fortunately, life has settled down to a dull roar! Let's start from the beginning of the winter.

Before we get into all the good food, there is a little story to help this whole thing along. After The Tyler Place, I searched relentlessly for a quality position here in Burlington. It seemed everything was assisted living based or short order fry cook misery. Then it happened! Healthy Living was looking for a sous chef to run their operation! I applied and landed the job within a few days. I thought that the food would be amazing and the staff would be skilled. I was so wrong!! I was basically suckered in, set-up and pushed around by the owners. Has anyone ever heard of a sous chef that isn't allowed to cook? Everything was either Sysco or Us Foods bullshit in a can. Thankfully, this position ended right after the new year.

I always love to eat whatever is in season, it just makes your soul feel good. Chicken is such an abused piece of protein. Many home cooks shy away from this marvelous bird because of two things.... First they think it is too time consuming to prepare, or they have had a bad experience in the past. I say, don't fret! The art of preparing a delicious home cooked chicken dinner is extremely simple! First find yourself a decent bird. Stay away from the store brands or big name suppliers. Some of these chickens are so modified they can't even be called chickens. Spend the extra $2.00 and get a legit bird. Here in Vermont it is Misty Knolls.


For a fabulous chicken dinner cut in half two lemons, slice one half stick of butter, salt and pepper and finish with some butchers twine. Rinse the bird under cold water thoroughly. Place the cut lemons inside the body cavity of the bird. Working with your fingers find where the skin meets the meat of the chicken and distribute the butter evenly.


Once these steps are complete, time to truss this bird. There are several ways to do this, pick one that is right for you. You can go simple or extremely complicated. I place the back end of the bird facing me and put my twine under the tail and cross it over the legs.


Pull tight and spin the bird around until the neck is facing you. With your fingers on the cutting board pull the twine towards you and over the wing sections.


Next, flip the bird over and wrap the twine around the neck section and tie tightly. There it is! Simple! Roast, or smoke this until and internal temp of 160 degrees is achieved. Have any accompaniments you like with this. This will feed a family of four no problem!

The job market in February was pretty scarce. There were positions available, but they were at Buffalo Wild Wings, or Longhorn Steak House. I would rather die than work for one of these shady outfits. For a little while, I was helping a former instructor of mine at a local soup and sandwich shop. This was fun for a while, but making sandwiches every day sucks. Again, luckily this was temporary. This was an epic winter for snow here in Vermont. This made the winter a drag.


During the winter doldrums, I stumbled upon a unique recipe for a smoked salmon lasagna. The most interesting part is that this recipe doesn't call for pasta! It's almost like a smoked salmon gratin. At your local market try to find out if they sell smoked salmon scraps.

Smoked Salmon Lasagna

1. 2# Smoked Salmon Scraps
2. 1 Bag Baby Spinach
3. Small Bottle Clam Juice
4. 1 Qt. Heavy Cream
5. Four Cups Graded Gruyere
6. Salt and Pepper

In a well greased 2" baking pan, start with the potatoes and make a thin layer. Next add the salmon and spinach and gruyere. Repeat this until the ingredients run out. Mix the clam juice and heavy cream together and pour over the lasagna. Don't empty the whole contents onto the lasagna! Just until you can see it in the pan. Cook at 375 for forty minutes and enjoy!!


Winter seemed to take forever! I didn't know how much more I could take! It didn't matter how much snow we got, the food was unbelievable!! Spending all day making dinner with the utmost attention to detail!! Finally, I recived a phone call from Jeff Towle from The Tyler Place about the upcoming season. It was great to hear his voice again. Hope and anticipation were now tangible things! We got the band back together with the addition of Chef David Coolidge. Chef Dave was one of my instructors at school and has an unbelievable energy level. I think he can find a way to have fun anywhere! He is a welcome addition to the TP crew. Sadly, Jeremy Ratta left for Pittsburgh last week. It was a sad moment in TP history. I still can't believe he isn't there. Hey, life goes on for everyone, including Jeremy.

With all the sadness of the departure of Jeremy, I had to slow smoke some pork belly! If you have the means, pick one up, if not, beg your butcher! Pork belly is like the holy grail for the home cook. You can do anything to this piece of meat. I like to rub it down with molasses, coco powder and red pepper flakes. This is definitely next level pork belly maneuvers. A few blogs ago I have a great recipe for pancetta. Check it out! Anyway, slow smoke the belly for three hours at 180-200 degrees. This will melt your face!


On to today! The TP is in full swing again! Our new crew is quickly learning to daily procedures and developing their own short cuts. It's fun to watch. We have to be hard on them in the beginning. Some can handle this pressure and some can't. The biggest u-turn has been from our garde manger chef. Justin started out a little rocky, but has gone into overdrive and is quickly turning heads. He has super ninja skills and definitely deserves respect for this. Not too shabby for a rookie!


I can finally play in the kitchen again and all is well. The fourth of July came and went without any calamities, and everyone had fun! Isn't that the point of cooking anyway? I went back to my pastry roots and found the time to make a fun little cake for the occasion.


There is much more to come! Stay tuned and peace out!

Wednesday, February 2, 2011

Snow Daze!


Wow, I had no idea how long it has been since my last entry!  The winter season is just flying by!  I have been so busy in the kitchen, and have so much to share.  Snow days are so much fun at my house.  I love knowing that there is a giant snowstorm on the way!  I even go so far as to write a menu for that day, and spend a few days prepping.  Snow days are a day of indulgence around here.  It's that kind of day where you are allowed to have that glass of your favorite wine at eleven in the morning, why not, you're not going anywhere anyway!

Good solid winter food is the name of the game on a day like this.  A nice lunch item on this special day is a ridiculously hearty soup.  For me, that means split pea and ham soup.  This is truly a coma inducing soup.  First thing is to gather all of your ingredients......

Split Pea and Ham Soup

1. One Cup Diced Onion
2. One Half Cup Diced Carrot
3.  One Half Cup Chopped Celery
4.  Three Small Smoked Hocks
5.  Two Tablespoons Minced Garlic
6.  Two Teaspoons Kosher Salt
7.  1/4 Teaspoon Red Pepper Flakes
8.  Two Tablespoons Thyme
9.  One Bay Leaf
10.  One Pound Split Yellow Peas
11.  Eight Cups Chicken Stock
12.  Two Ham Steaks Diced


Start off by sweating the onion, celery and carrot in a large pot with a little butter or oil.  You want to do this over medium heat for about 5-8 minutes.


Keep the mixture moving so you don't burn the vegetables to the bottom of the pan.  Next, add the minced garlic.  Be careful at this point.  Garlic can burn very easily and ruin the whole dish.  


Cook everything for about two minutes.  Now you can add everything else except the diced ham steaks.
Your house or apartment will smell so good!


Cook the soup over medium heat until the peas are tender, about an hour or so.  Most recipes call for pureeing the soup, or at least part of it.  I just use a potato masher and go at it until it is the desired consistency.  Add the diced ham steak and let it rest for twenty minutes.  Present it anyway you like.  I love this soup with warm Challah and celery leaves.


Enjoy!  This is a multi-blog kind of day!  Next is cheddar jalapeno sausage, mushroom duxelles, roasted chicken and beef barley soup.  Peace!

Thursday, November 4, 2010

Stocking Up!


This is the best time of year to give thanks for the summer splendor and extend those good feeling well into the winter. This past summer I have made a habit of hoarding as much local meats and produce that my small fridge will allow, with the intent on preserving and freezing my absolute favorites. Late summer here in Vermont means apples, apples and more apples! The local orchards are packed to the gills with people searching for their favorite variety. I recently went picking at Shelburne Orchards with my girlfriend Molly. We had an exceptional time basking in the sun and working each row of the orchard like pro's! During our time there, we sampled the most amazing ginger apple nectar. This stuff is no joke! After sampling this, you cold actually feel your whole being body open up and tingle. The label on the bottle says it's "Life Changing." I completely agree! I'm even more curious to see how this stuff works during the cold and flu season.


Ginger Power!!

While at Shelburne Orchards, I was able to round up about eleven pounds of ridiculously good apples. The variety I had were Golden Delicious, Macun, Macintosh and Fuji apples. There were even a few Honey Crisp mixed in with the harvest. A great way to preserve these are to cook them down and make the best applesauce ever! Usually, I cook the apples on the stove top and run the apples through a food mill to get a great sauce. Molly's mom told me about baking the apples in the oven for a delectable baked applesauce. I needed to try this, and put my own special twist on this classic. How about baked maple applesauce. Yes!

First, I had to peel and quarter eleven pounds of apples. When you do this, have a big pot of cold water nearby to put the quartered apples in so they won't oxidize. If you are doing this the day before, squeeze two lemons into the water to help prevent browning. Once you are finished, put the apples in your favorite oven ready pot.


Add a big handful of apple peels to the pot. After the cooking is over, it is very easy to fish them out. In order to make this maple apple sauce, I added two cups of maple sugar and one quarter cup of maple syrup. We take our maple syrup seriously here in VT; use the best quality you can, but avoid the fake store brand (It's not even maple syrup! Shhh.....)


Preheat the oven to 350. Next, add one tablespoon of cinnamon, one quarter stick of butter and one teaspoon of nutmeg. While the oven is heating, stir the apples to evenly distribute the sugar and spices. Cover the pot and bake in the oven for 1.5 hours. Your house or apartment will smell unbelievable!


When the apples are done, remove the peels and whisk until smooth. The sauce will be a lot darker than the store bought brands, but oh so good! I usually pack the sauce into jars and refrigerate until I plan on using them. This is so good on oatmeal with peanut butter. Seriously!

The next project was completely random. It was a rainy day, the temperature outside was hovering around 38 with a few sleet pellets mixed in. I was reading an article on BBC about how Bangers and Mash were making a comeback due to the economy. I decided to give it a try. Making sausage is very easy for the home cook. If you have the equipment, spices, and time, you're in business! The term "Bangers" evolved during WWII. This was due to the sausage maker adding too much water to bulk up the amount of sausage being produced. When these were cooked, they had a tendency to explode, hence the name Bangers.

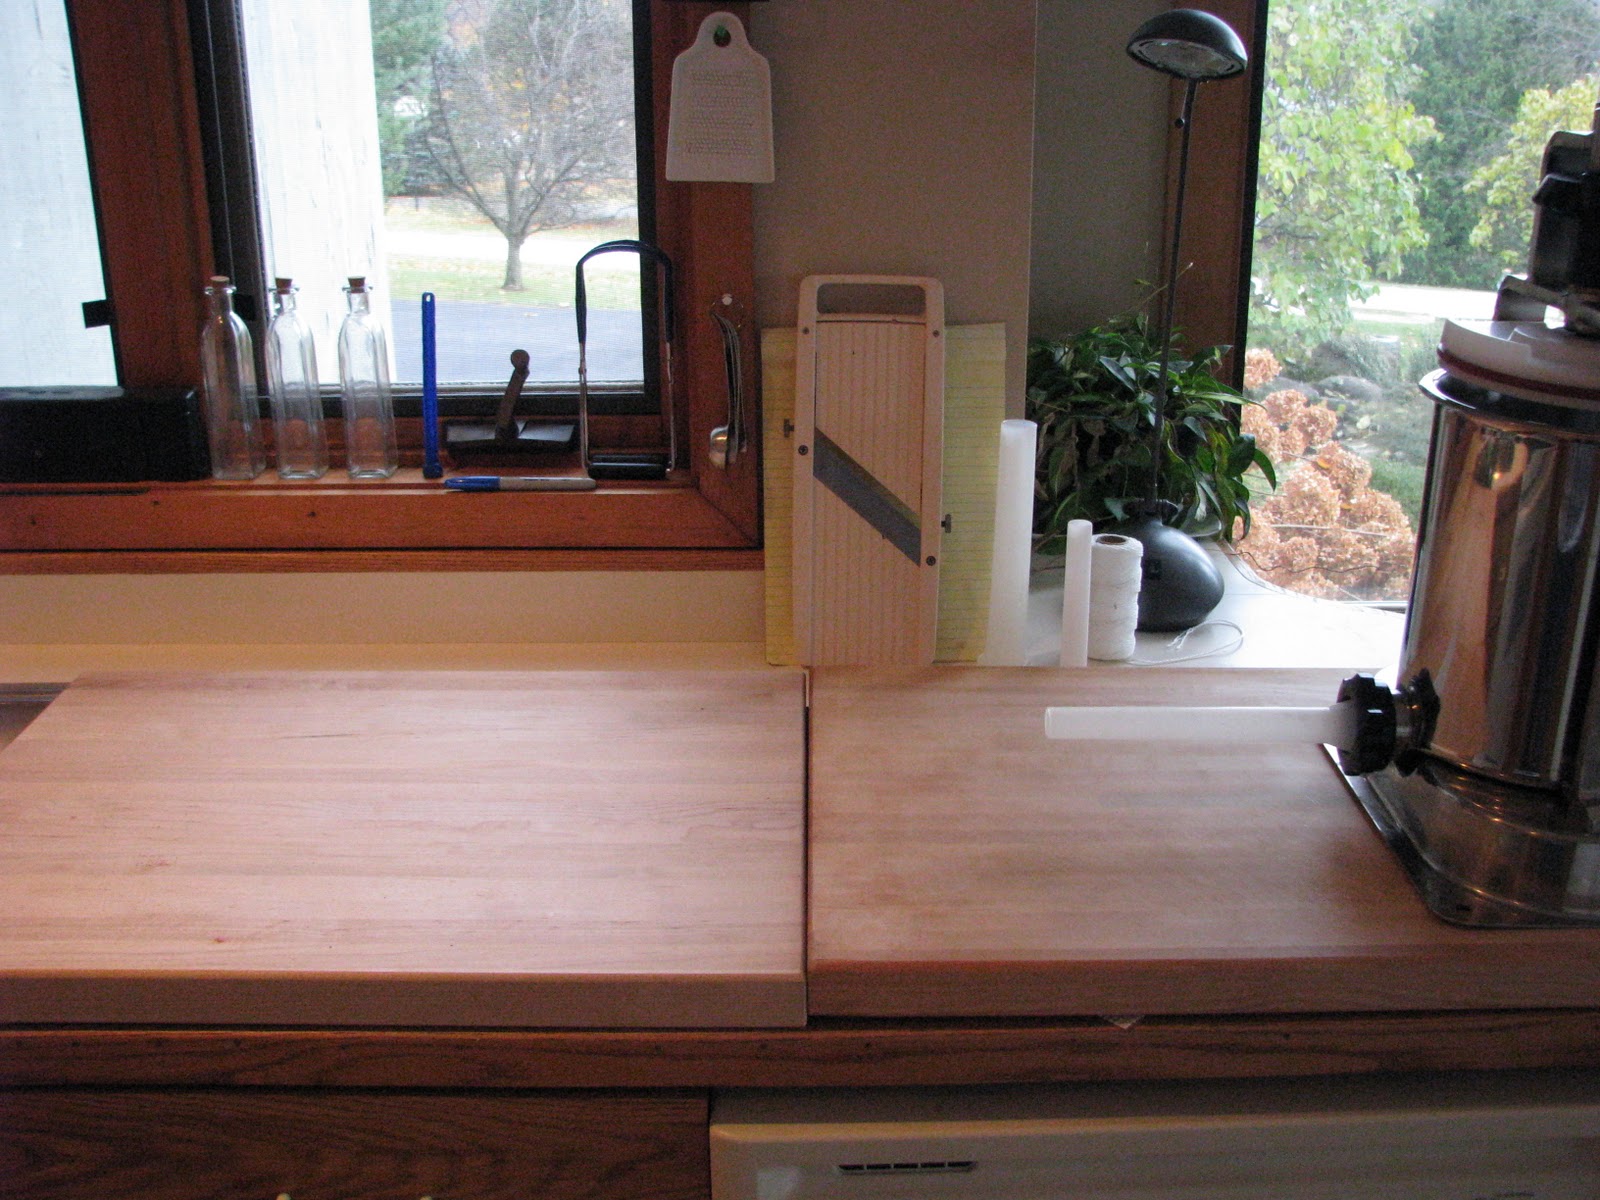
Before you begin grinding pork or scaling spices, set up your sausage maker.


Once this is set, start breaking down your pork. You can use boneless butt or shoulder skinned, but you will need to add two pounds of pork belly to the recipe to make up for the lean pork. If you don't have pork belly available, use one pound of uncured bacon. Grind the pork and fat together and place in an accommodating container and refrigerate. Keep the pork as cold as you can! While it's in the fridge, rinse ten feet of hog casings and soak them in tepid water.


Next, scale your ingredients. The recipe for 10# of bangers is....

English Bangers

-10# Ground Pork
-3 Cups Panko
-10 Teaspoons Salt
-3 Teaspoons Black Pepper
-3 Teaspoons Cayenne
-1 Teaspoon Mace
-1 Teaspoon Nutmeg
-1 Teaspoon Thyme
-1 Teaspoon Marjoram
-10 Teaspoons Sage
-10 Eggs

Place the pork in your electric mixer and add the ingredients until incorporated. Try not to over mix the pork. The friction will start to break down the fat and it will become too greasy. Thread the casings onto the stuffer, and fill with the banger mixture. Roll the sausages out until finished. Twist off three inch links. You can get demos of this on Youtube or go back to my Meat Candy entry from a few months ago. All in all, it's very easy to accomplish, and you are rewarded with ten pounds of fresh English Bangers. Wrap tightly and freeze, or vacuum seal until a later date.


The fun doesn't stop there! I had another ten pounds of pork butt ready to go! Hot Italian Sausage is a staple around here. This is one of the more versatile sausages you can make. This recipe is a little different than others. Most of the recipes for this use cayenne pepper for the heat. This is a little too much for this humble sausage. I use chipotle powder for the heat and a little smoke. This rounds out the sausage to make it even more user friendly. Use the same set up instructions as above.....

Hot Italian Sausage

-10# Ground Pork
-2 Cups Cold Red wine
-2 Cups Chopped Parsley
-10 Teaspoons Salt
-2 Tablespoons Garlic Powder
-2 Tablespoons Ground Pepper
-6 Teaspoons Chipotle Powder
-10 Tablespoons Fennel Seed
-4 Teaspoons Red Pepper Flakes
-10 Tablespoons Smoked Paprika


Stocking up the fridge and freezer sounds like a daunting task to some. It is in your best interest to have these kinds of prepared foods available to you. Even today, I had about fifteen whole shallots laying around. I grabbed my knife, sliced the shallots and caramelized them. Now I will have caramelized shallots for anything my heart desires. Doing little things around your home kitchen on your day off will pay off big in the long run!

~Peace