Thursday, November 4, 2010

Stocking Up!


This is the best time of year to give thanks for the summer splendor and extend those good feeling well into the winter. This past summer I have made a habit of hoarding as much local meats and produce that my small fridge will allow, with the intent on preserving and freezing my absolute favorites. Late summer here in Vermont means apples, apples and more apples! The local orchards are packed to the gills with people searching for their favorite variety. I recently went picking at Shelburne Orchards with my girlfriend Molly. We had an exceptional time basking in the sun and working each row of the orchard like pro's! During our time there, we sampled the most amazing ginger apple nectar. This stuff is no joke! After sampling this, you cold actually feel your whole being body open up and tingle. The label on the bottle says it's "Life Changing." I completely agree! I'm even more curious to see how this stuff works during the cold and flu season.


Ginger Power!!

While at Shelburne Orchards, I was able to round up about eleven pounds of ridiculously good apples. The variety I had were Golden Delicious, Macun, Macintosh and Fuji apples. There were even a few Honey Crisp mixed in with the harvest. A great way to preserve these are to cook them down and make the best applesauce ever! Usually, I cook the apples on the stove top and run the apples through a food mill to get a great sauce. Molly's mom told me about baking the apples in the oven for a delectable baked applesauce. I needed to try this, and put my own special twist on this classic. How about baked maple applesauce. Yes!

First, I had to peel and quarter eleven pounds of apples. When you do this, have a big pot of cold water nearby to put the quartered apples in so they won't oxidize. If you are doing this the day before, squeeze two lemons into the water to help prevent browning. Once you are finished, put the apples in your favorite oven ready pot.


Add a big handful of apple peels to the pot. After the cooking is over, it is very easy to fish them out. In order to make this maple apple sauce, I added two cups of maple sugar and one quarter cup of maple syrup. We take our maple syrup seriously here in VT; use the best quality you can, but avoid the fake store brand (It's not even maple syrup! Shhh.....)


Preheat the oven to 350. Next, add one tablespoon of cinnamon, one quarter stick of butter and one teaspoon of nutmeg. While the oven is heating, stir the apples to evenly distribute the sugar and spices. Cover the pot and bake in the oven for 1.5 hours. Your house or apartment will smell unbelievable!


When the apples are done, remove the peels and whisk until smooth. The sauce will be a lot darker than the store bought brands, but oh so good! I usually pack the sauce into jars and refrigerate until I plan on using them. This is so good on oatmeal with peanut butter. Seriously!

The next project was completely random. It was a rainy day, the temperature outside was hovering around 38 with a few sleet pellets mixed in. I was reading an article on BBC about how Bangers and Mash were making a comeback due to the economy. I decided to give it a try. Making sausage is very easy for the home cook. If you have the equipment, spices, and time, you're in business! The term "Bangers" evolved during WWII. This was due to the sausage maker adding too much water to bulk up the amount of sausage being produced. When these were cooked, they had a tendency to explode, hence the name Bangers.

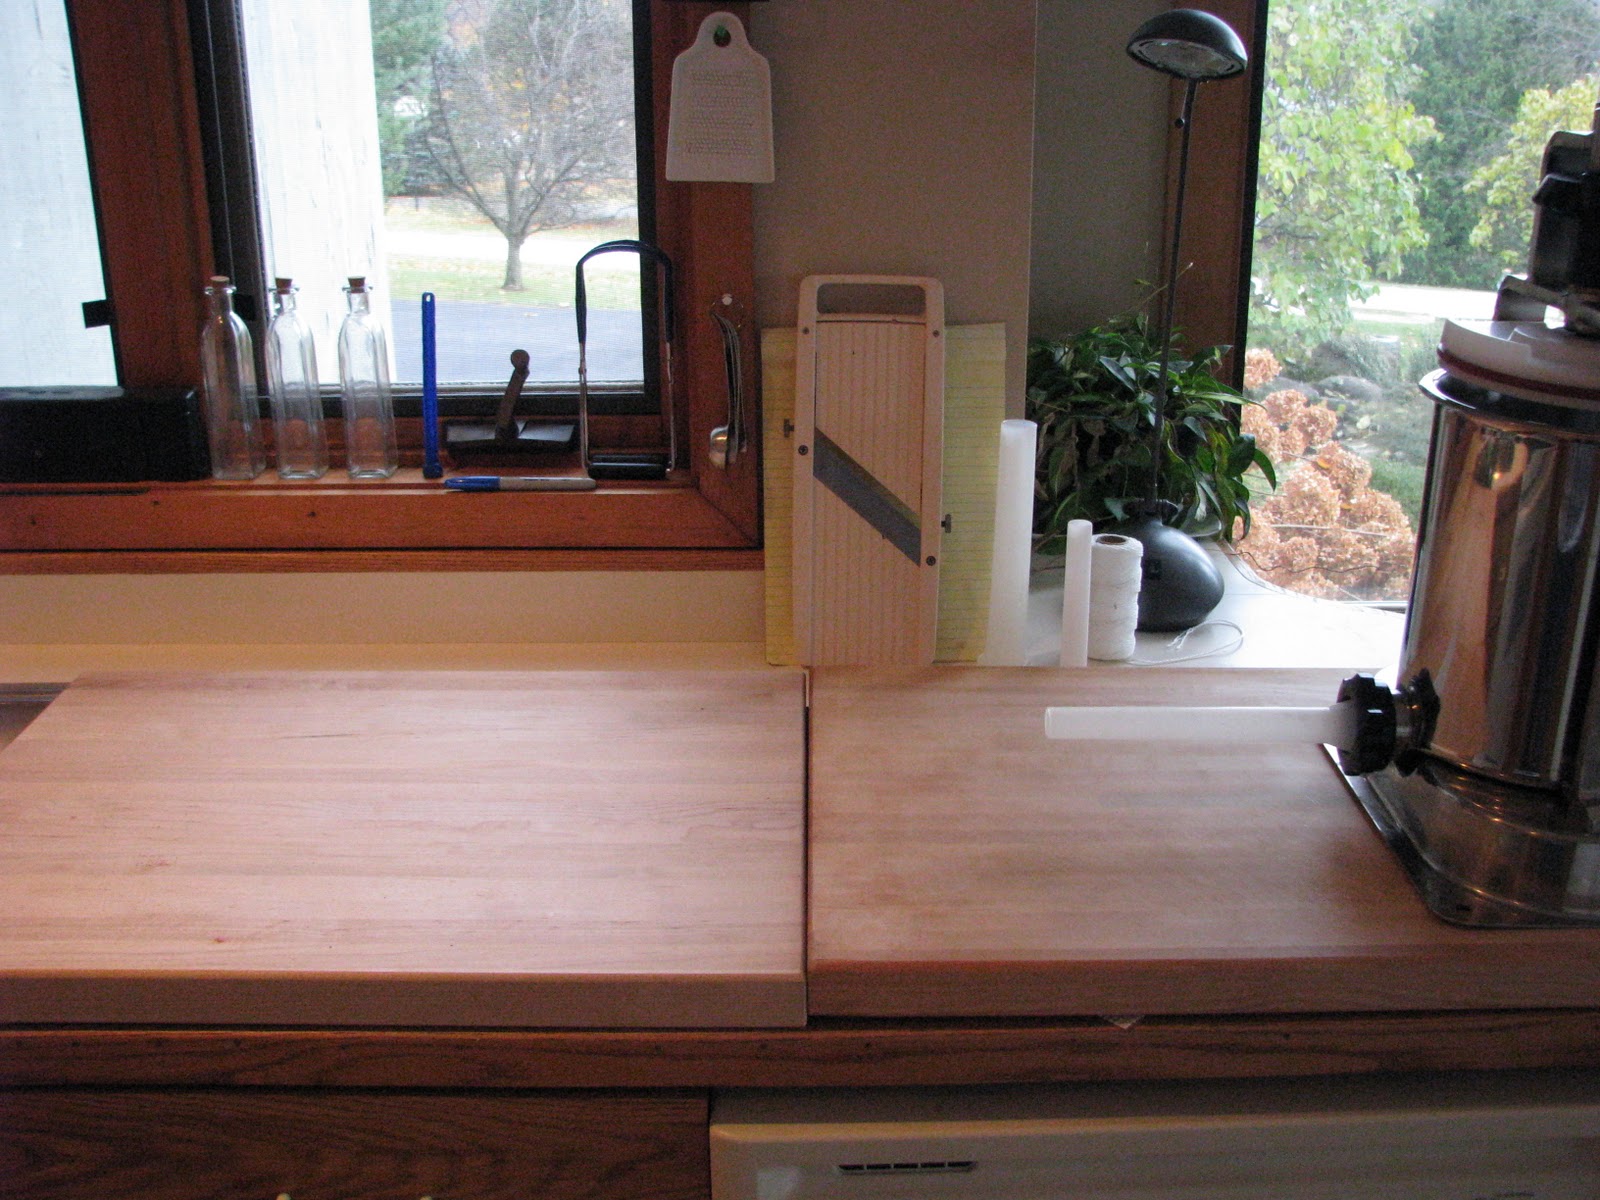
Before you begin grinding pork or scaling spices, set up your sausage maker.


Once this is set, start breaking down your pork. You can use boneless butt or shoulder skinned, but you will need to add two pounds of pork belly to the recipe to make up for the lean pork. If you don't have pork belly available, use one pound of uncured bacon. Grind the pork and fat together and place in an accommodating container and refrigerate. Keep the pork as cold as you can! While it's in the fridge, rinse ten feet of hog casings and soak them in tepid water.


Next, scale your ingredients. The recipe for 10# of bangers is....

English Bangers

-10# Ground Pork
-3 Cups Panko
-10 Teaspoons Salt
-3 Teaspoons Black Pepper
-3 Teaspoons Cayenne
-1 Teaspoon Mace
-1 Teaspoon Nutmeg
-1 Teaspoon Thyme
-1 Teaspoon Marjoram
-10 Teaspoons Sage
-10 Eggs

Place the pork in your electric mixer and add the ingredients until incorporated. Try not to over mix the pork. The friction will start to break down the fat and it will become too greasy. Thread the casings onto the stuffer, and fill with the banger mixture. Roll the sausages out until finished. Twist off three inch links. You can get demos of this on Youtube or go back to my Meat Candy entry from a few months ago. All in all, it's very easy to accomplish, and you are rewarded with ten pounds of fresh English Bangers. Wrap tightly and freeze, or vacuum seal until a later date.


The fun doesn't stop there! I had another ten pounds of pork butt ready to go! Hot Italian Sausage is a staple around here. This is one of the more versatile sausages you can make. This recipe is a little different than others. Most of the recipes for this use cayenne pepper for the heat. This is a little too much for this humble sausage. I use chipotle powder for the heat and a little smoke. This rounds out the sausage to make it even more user friendly. Use the same set up instructions as above.....

Hot Italian Sausage

-10# Ground Pork
-2 Cups Cold Red wine
-2 Cups Chopped Parsley
-10 Teaspoons Salt
-2 Tablespoons Garlic Powder
-2 Tablespoons Ground Pepper
-6 Teaspoons Chipotle Powder
-10 Tablespoons Fennel Seed
-4 Teaspoons Red Pepper Flakes
-10 Tablespoons Smoked Paprika


Stocking up the fridge and freezer sounds like a daunting task to some. It is in your best interest to have these kinds of prepared foods available to you. Even today, I had about fifteen whole shallots laying around. I grabbed my knife, sliced the shallots and caramelized them. Now I will have caramelized shallots for anything my heart desires. Doing little things around your home kitchen on your day off will pay off big in the long run!

~Peace

Wednesday, October 13, 2010

An Old Friend


Fall is a great time to dust off the cooking notes and revisit some old friends. High end cuisine is always fun to make at home, but sometimes you need a good old fashioned homestyle meal. For tonight we are going to leave all the Food Network candy colored mumbo jumbo behind. Let's revisit a classic... Let's make turkey tetrazzini!

There is no doubt about it, it is better to cook at home whenever, and as often as possible! For starters, it's cheaper and healthier than anything you can scrounge up in a restaurant. Second, it is better for society and your well being. It is more of a moral imperative that everyone should possess the knowledge to do, and do well. This latest post is one of those meals that you can make fairly quickly, and line the dinner table with happy faces! Let's get started!

Finding the right piece of turkey takes perseverance! You can settle for the Butterball, Sarah Lee or the all-impressive store brand. Like the farmers always say, "You reap what you sow!" It is truly an embalmed piece of protein that encompasses the worst of the food world. My advice, spend two to three dollars more on a legit turkey breast from an honorable source. If you don't have the means, please purchase what you have available.

I have a beautiful half turkey breast from Misty Knolls Farm. Here in Vermont, you can't get much better than this! High tolerance for quality, and sound practices make for an exceptional product! Start by rinsing the half breast, pat dry and season with salt, pepper and good olive oil.


This is the only time you will catch me using non stick pans. Place a large non stick over high heat until you are ready to call the fire department! Place the turkey breast skin side down and aggressively sear. You don't want to burn the turkey, just let it know who's boss! Ha!


Once the breast is flipped, preheat the oven to 350. After five more minutes of searing, cover the breast with parchment and roast for 35 minutes.


While the turkey is roasting, put a large sauce pot on to cook the pasta. This recipe calls for 12 ounces of pasta. You don't have to weigh it out, just cook one pound to avoid any frustration. Use any pasta you have available.... Get creative!


While the pasta is working, chop the vegetables you wish to use. For this dish, it is one large packet of mushrooms, one large red pepper, the turkey breast and two small red onions. These don't have to be perfect! You can just chop them however you wish! You're the boss!!


Using the same pan from the turkey, saute the onions and pepper for five minutes. As soon as the onions have a caramelized hue, add the mushrooms and turkey! Cook for another five minutes and add either one teaspoon of fresh chopped garlic, or 1/4 cup of pickled garlic, and simmer for two minutes.


Add two cups of heavy cream, 1 tablespoon paprika, 1 tablespoon onion powder, one tablespoon, chipotle powder, one teaspoon thyme and one more of oregano. This is the perfect base to this creamy casserole!


The topping can be anything of your choice! You can use anything from potato chips to wheat thins. I happen to love wheat thins, so that is what I use! Be very generous with the topping. This gives the dish the added crunch that makes it so memorable! This is definitely not a sexy dish by any stretch of the imagination. It is just good, solid, coma inducing dinner that can be a staple for any family!


This recipe is very versatile. You can use any number of different ingredients. Instead of turkey, you can use chicken, lamb, beef, pork or duck. Same goes for the vegetables. Brussel sprouts are a life changing ingredient with this!

Happy fall to everyone! Peace!

Saturday, October 2, 2010

Ah! The Spice of Life!

Life, like cooking, has many ingredients and methods to bring out the right taste, textures and aromas of our beautiful surroundings. Last week, I came into some incredibly fresh banana peppers from my friend's greenhouse. They were a surreal fluorescent green, and struck my eye in such a way that I knew what their purpose was as soon as I saw them. The fresh pepper aroma filled my kitchen with late summer spendor. Pickled banana peppers are among the easiest to produce.

As stated in previous blog entries, heat your canner with the jars inside. In this case, I used pint- sized jars. Sterilize the lids in simmering water, and gather your ingredients.


The ingredients are so simple and clean for these peppers. For two ponds of peppers you will need ...

6 Cups, Cider Vinegar
2 Cups, Water
3 Garlic Cloves

Pack the peppers into the pint jars, and bring the above ingredients to a rolling boil. Cook the vinegar and garlic solution for five minutes, and after cooked, pour the hot vinegar to within one quarter inch of the top of the pickling jars. Seal the lids and process for ten minutes in a hot water canner. These are some of my favorite pickles for sandwiches, soups or snack!


The next entry is a very obscure pickle! Years ago, I tried to pickle pineapple on the fly with disastrous results. The recipe in the Ball Blue Book turned out perfect, and even better, they're delicious!! I had two pineapples laying around that needed a new home.

Peel and core the pineapples. Cut them into spears, or just simply chop into one inch squares. As before, prepare your jars, lids and ingredients which are...

3 Cinnamon Sticks, Broken
.5 Teaspoon, Allspice
.25 Teaspoon, Cloves
2 Cups, Brown Sugar
1 Cup, Cider Vinegar
1 Cup, Pineapple Juice

Bring these ingredients to a boil for five minutes. While they are cooking, pack the two quart jars with your prepared pineapple.


As before, pour the hot liquid on top of the pineapple to within one quarter inch from the top. Seal the jars and process for ten minutes. Pineapple pickles are a show-stopper, and their sweet-and-sour spears have just a hint of spice, perfect for a cool fall afternoon!


Prep is finally over! Woo-Hoo!! Now is the time to have a nice glass of wine and begin thinking about dinner.

I have some amazing Coho salmon in the refrigerator. Hmmm..... How about Lentil Salad, Seared Salmon, Apple Fennel Slaw and Tomato Conserva Beurre Blanc! Perfect!!

Dice three carrots and one onion. This doesn't have to be perfect- you can just put them in the processor.


Heat a heavy bottom saute pan and cook until the onions are translucent. If there is any sticking, use a splash of white wine and scrape all the little brown bits from the bottom.


In a separate sauce pan, pour one cup of white wine and bring to a boil. Boil the wine vigorously until reduced to syrup. Be careful not to burn!


Add two tablespoons of tomato conserva. If you don't have any conserva, just use tomato paste. Chop one stick of butter into small pieces. One at a time, wisk the butter until a thick sauce develops. Be sure to keep the heat off for this, or the butter emulsion will break. If it breaks, don't sweat it!

Cook the lentils until they are just about done, about ten minutes or so. When they are done, add them to the carrot onion mix. I used smoked salt and fresh cracked pepper for the seasoning. Feel free to use whatever you think is appropriate! You be the judge!

Heat a heavy bottom saute pan until screaming hot! If you don't trust yourself, please use a non-stick pan to save yourself from any heartache!


Sear the salmon until medium rare! You can plate this however you wish. In your own kitchen, YOU ARE THE CHEF!! Spoon the sauce over the salmon and enjoy an early fall dinner!


Cheers!!

Thursday, September 30, 2010

Tell me what you eat, I'll tell you who you are. ~Anthelme Brillat-Savarin


This is one of my favorite quotes for many reasons. Over the years, I have been fortunate to meet a vast number of people from every walk of life. The one trait we all have in common is our love of food. It doesn't matter if you are a carnivore, vegetarian, vegan or other. There is always something you believe in your heart to be special with absolute conviction.

During the last few weeks I have met a wonderful soul who has impeccable taste, razor sharp wit, and a vision of how food can change the world. These kinds of people are very hard to come by in todays "now" society. She understands the benefits of sustainable foods on a very local level, and tragic practices of the large scale corporate farming sprawl. I feel truly fortunate to know a true foodie. After all, great minds think alike!

The kitchen at home has been very happy and unbelievably busy! Each morning I wake up at sunrise, make my coffee which resembles mud, and gaze at the the joyful bounty which is my refrigerator! The pickling projects are mostly completed, and the meat fabrication was a success! Let's see, where to start....

OK! When my sister and I were growing up there was always something good on the table for dinner. In my family we appreciate the togetherness of having a family dinner. One of our mainstays was frank and bean casserole. My sister and I loved it because it was good, hot and plenty of it! Over time, the allure of the hot dog lost it's luster. Maybe Im getting older, but mass-produced hot dogs shouldn't be eaten by anyone! Hand-made all-beef franks reclaim the idea of what a hot dog should actually be!

Hot dogs are perhaps the world's most widely known sausage. The homemade variety are so different from those sold in supermarkets that we have to question the name. First, you need to start with good wholesome ingredients. I had a six pound beef bottom round from LaPlatte, and four pounds of short ribs from the same location. Short ribs have a thick succulent fat cap that adds so much flavor to this sausage. Cut the round into small pieces,remove the bones from the ribs, and cut them in the same fashion.


Once the meat is cut and ready, place it in an accommodating dish, cover and refrigerate for thirty minutes. If you have the time, put it in the freezer for fifteen minutes longer. Bottom line, you want the cut beef as cold as possible.

While the meat is chillin, mise en place your spices! This amount required......

8 Cloves Garlic, Pickled and Minced
4 Tablespoons, Kosher Salt
1.5 Tablespoons, Cracked Black Pepper
1 Tablespoon, Smoked Paprika
1 Tablespoon, Ground Coriander
2 Teaspoons, Ground Mace
3 Cups, Cheap Beer
Sheep Casings

Grind the meat on the smallest die.


In a large bowl, or mixer, incorporate the spices and beer to the ground beef. Once it is properly mixed, cover and put in the freezer for fifteen minutes. During that fifteen minutes, rinse and prepare the sheep casings.


Set up your sausage maker. Whatever you do, never buy the sausage maker from a name brand "authority" on this. They will DEFINITELY RIP YOU OFF!! Go to Amazon.com before making a purchase just to be sure.

Thread the casings onto the extruder and fill the canister with the raw product. This is where you should take a step back, breathe and have a nice glass of wine. You can never be too relaxed in the kitchen. Gordon Ramsey has nothing on me!


Roll out the sausage until the filling has run out. At this point, decide on how you would like to present them. The world is your oyster! Foot-longs, short links, cocktail? You be the judge!!


This recipe will net you a lot of hot dogs! Wrap or freeze properly! If you have a vacuum sealer, well....

Just think, you got some dawgs to make any New Yorker proud!!

Hot dogs are all fine and dandy, but let's get into some pickles!

I have found over time that you can pickle just about anything. There are quite a few recipes that are borderline shady on the internet, but the Ball Blue Book on canning is my new favorite authority on the subject! These are tried and true concoctions for ANY home canner! You will be surprised at what you will find hidden inside this book.

Let's just say I have about 48 heads of peeled garlic. I know it sounds funny, but seriously.......

Have your garlic peeled and waiting! Rev up the canner and process your jars. In this case it is 1.5 gallons. Pickled garlic is extremely delectable and crazy precious! If you take anything away from this blog, this is it!! Besides 48 heads of peeled garlic , you will need.....

2.5 Cups, white Vinegar
1 Cup, White Wine
1 Tablespoon, Kosher Salt
1 Tablespoon, Sugar
1 Tablespoon, Oregano

Bring this to a boil in a large stock pot. Once it is boiling, add the garlic!


Fill the sterilized jars to .25" from the top! Process in a hot water canner for ten minutes.


These are the best garlic pickles ever!

Enough typing for today! There is so much more material it isn't even funny! Tomorrow we will cover pickled peppers and pineapple!! I need to eat food again! Prep is good fun, but making a meal is a whole different story!

~Cheers!